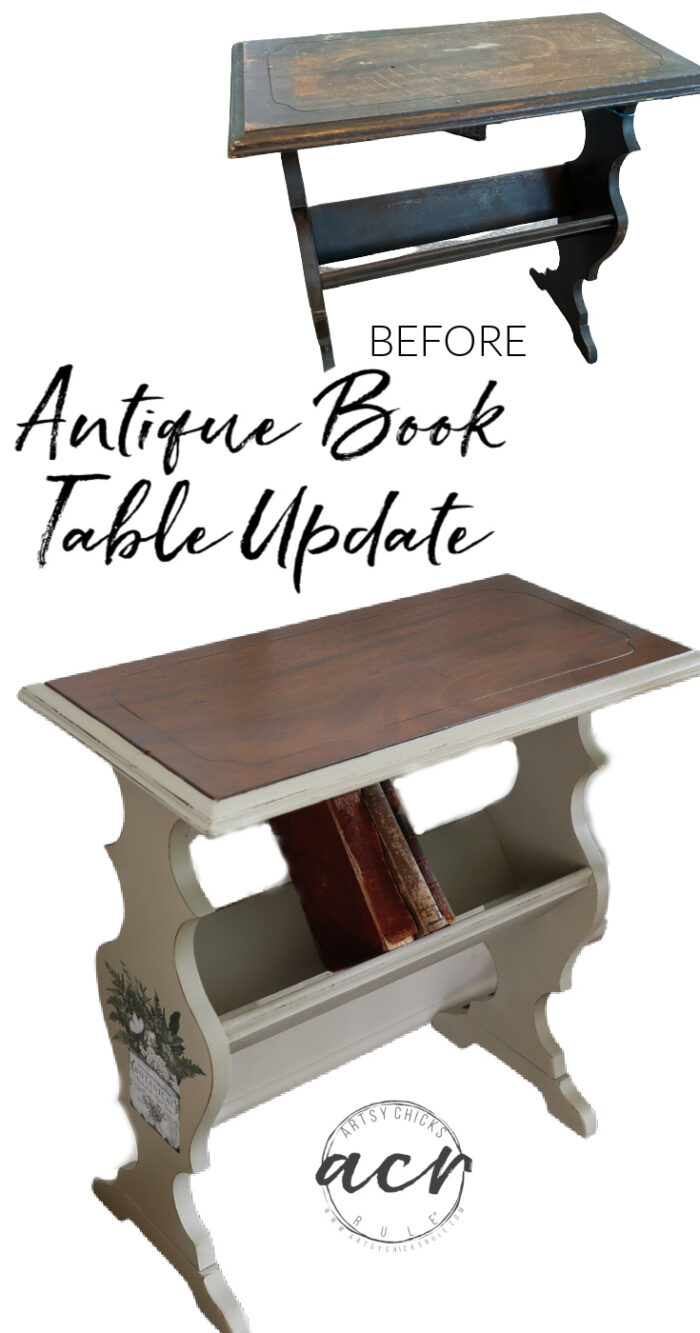
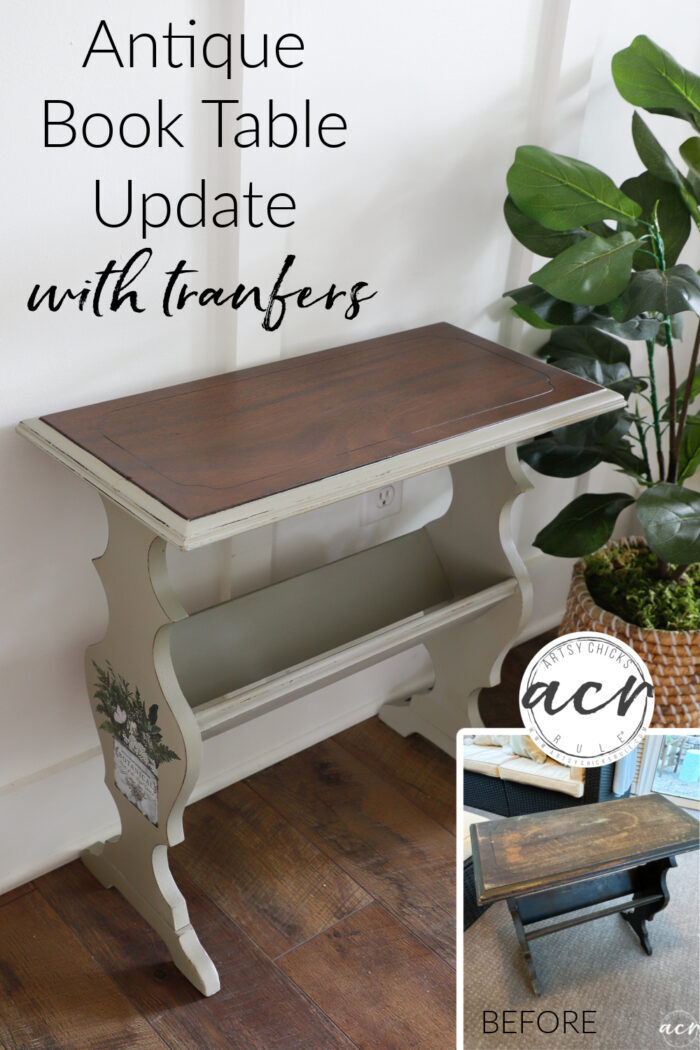
Antique Book Rack Table Update
This antique side rack table needed a little (or a lot!) of love! Some glue, wood putty a few screws, some paint, and like new!
Hello wonderful friends! I have a brand new makeover today.
My sweet husband and I were a few towns over (in the country!) a couple of weeks back and drove by a roadside Church thrift sale.
Of course, we had to pull over! I can’t pass by a sale like that without checking out the goodies.
Antique Book Rack Table Update
And I went home with this antique book rack table.
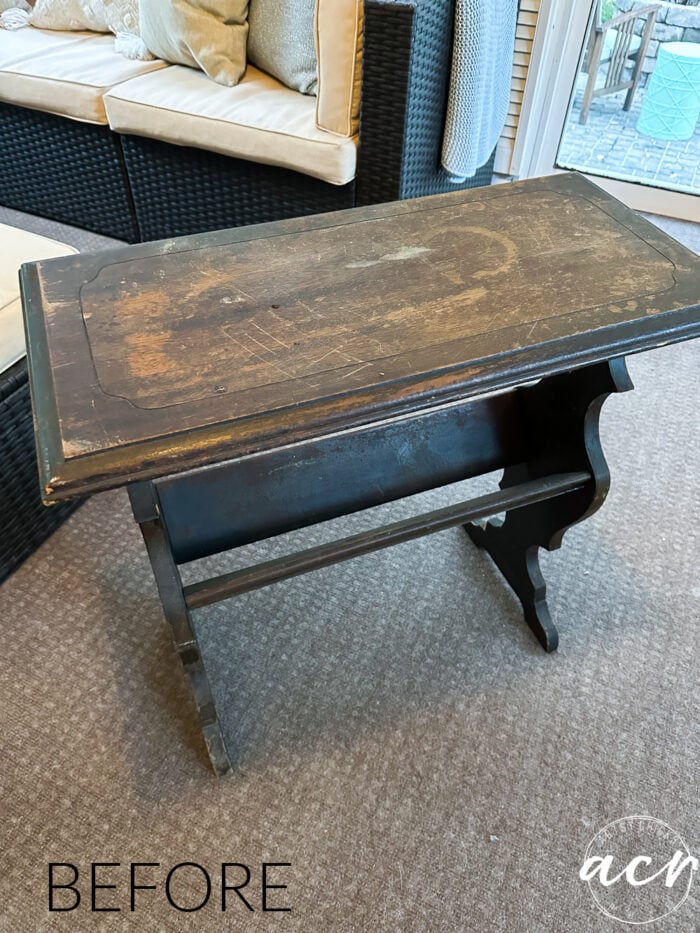
Yikes! It was in major need of help. (and love)
And what you can’t see in the photo is how wobbly it was. Poor thing.
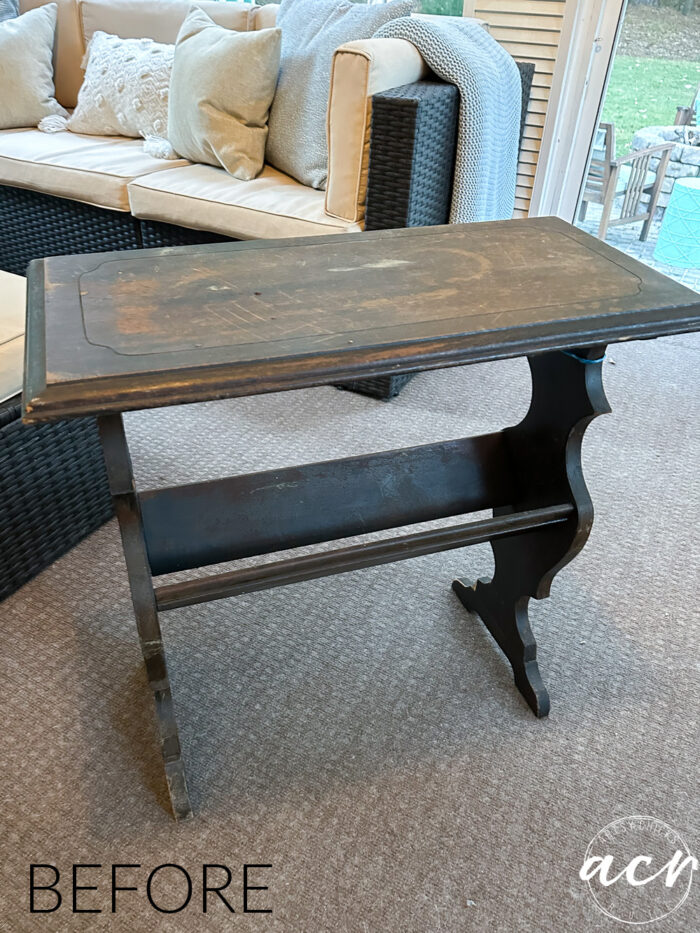
It just swayed from side to side.
The top was in pretty rough shape too.
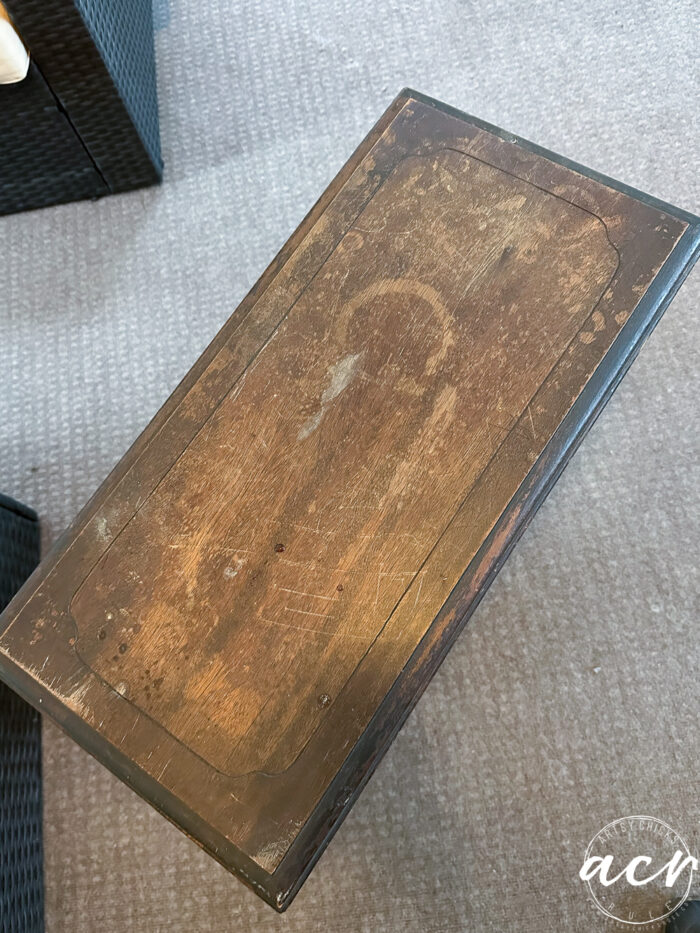
Looks like it got moved and never used again.
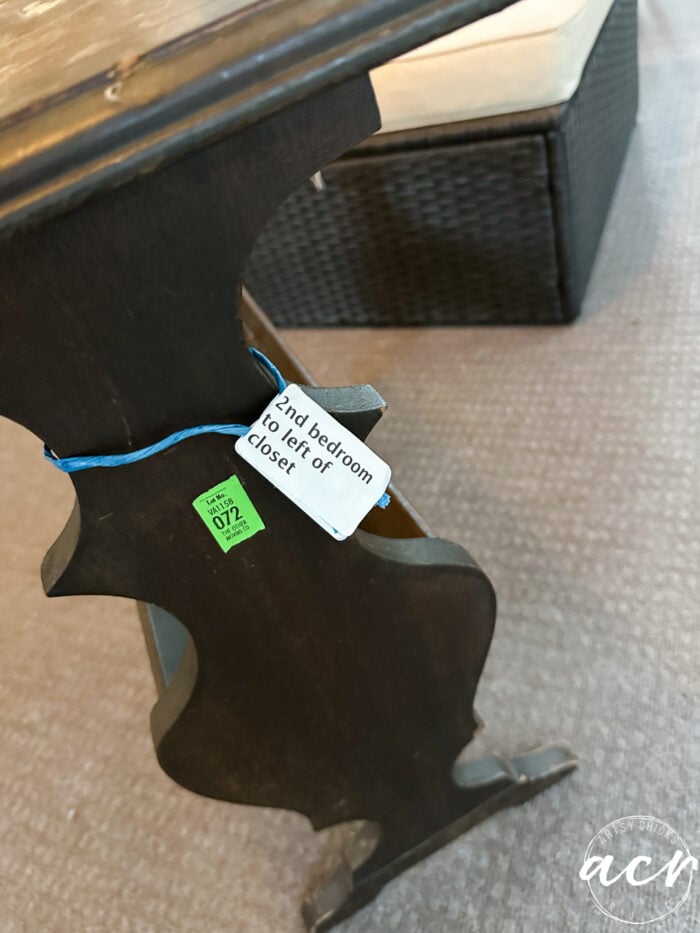
But that’s okay because she is going to get all prettied up and used once more!
I decided to sand and refinish the top and paint the rest. I had originally thought I’d refinish the whole top but as you can see below, when I sanded the edge I realized it was not the same wood. So that part got painted too.
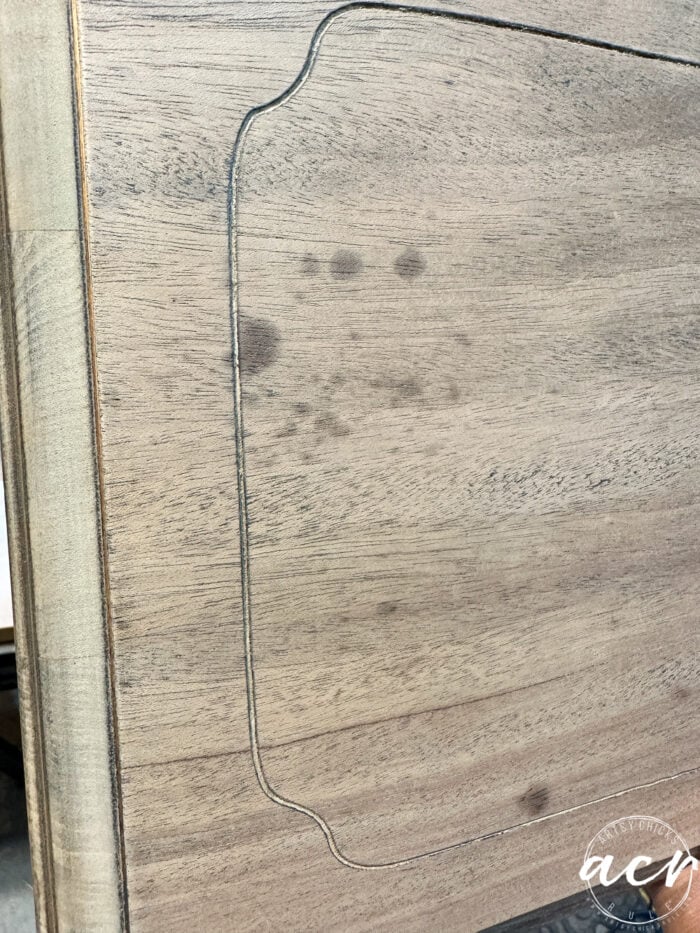
It also had a few grease spots?? I couldn’t get those out so they stayed.
You can’t really see them in the finished piece though. You’ll see.
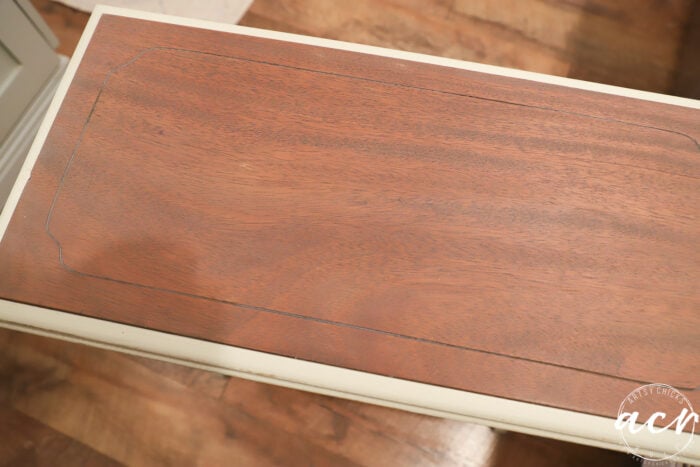
Here is how the top looks wet after I wiped it down from sanding.
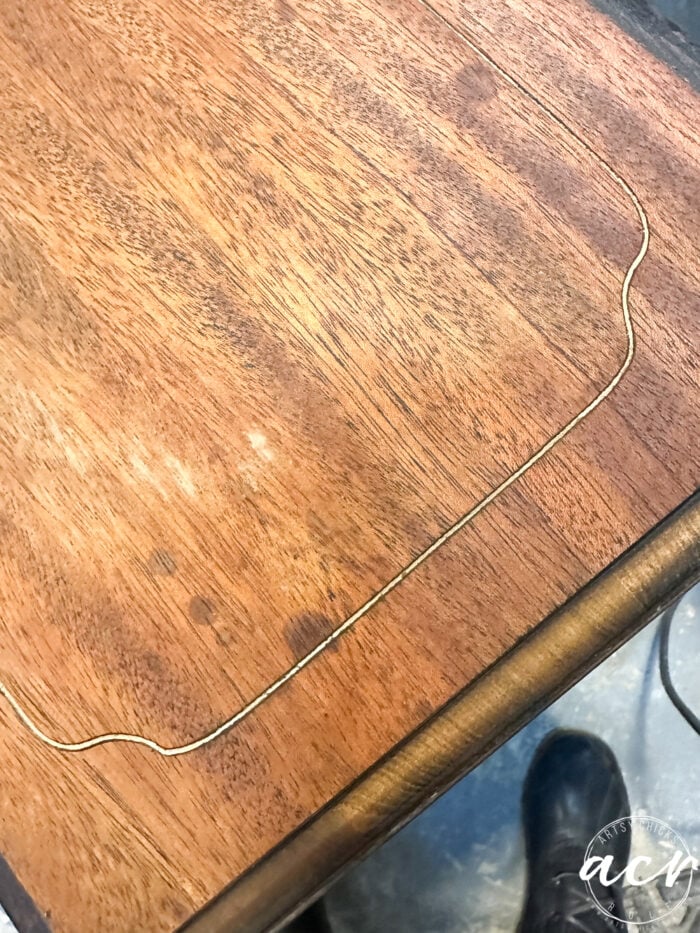
I went ahead and lightly sanded the whole piece to remove any bumpy finish, etc.
The top got two coats (with a day in between) of a gray wood stain. (linked above) I wanted a “cooler” finish to help reduce the redness of the wood so went with gray.
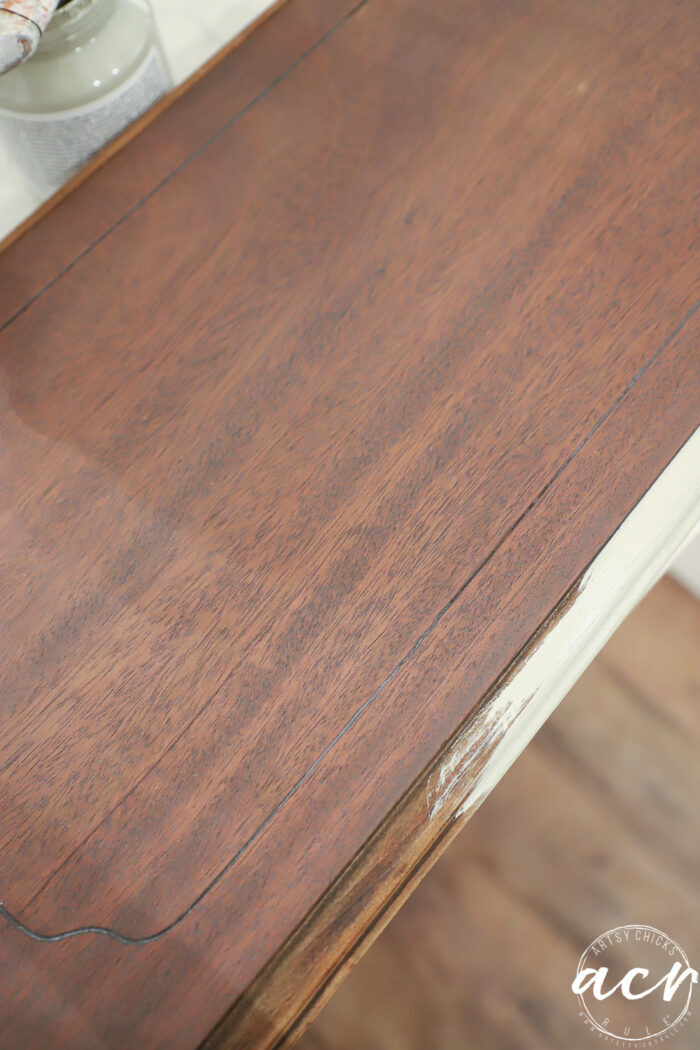
And to fix the wobbly, my husband drilled and screwed the sides for me. Wow, what a difference!
Super duper sturdy now. Just want it needed. And okay because I’m painting it anyway, you’ll never see them.
You can also see where I repaired some of the chipped wood on that backside there.
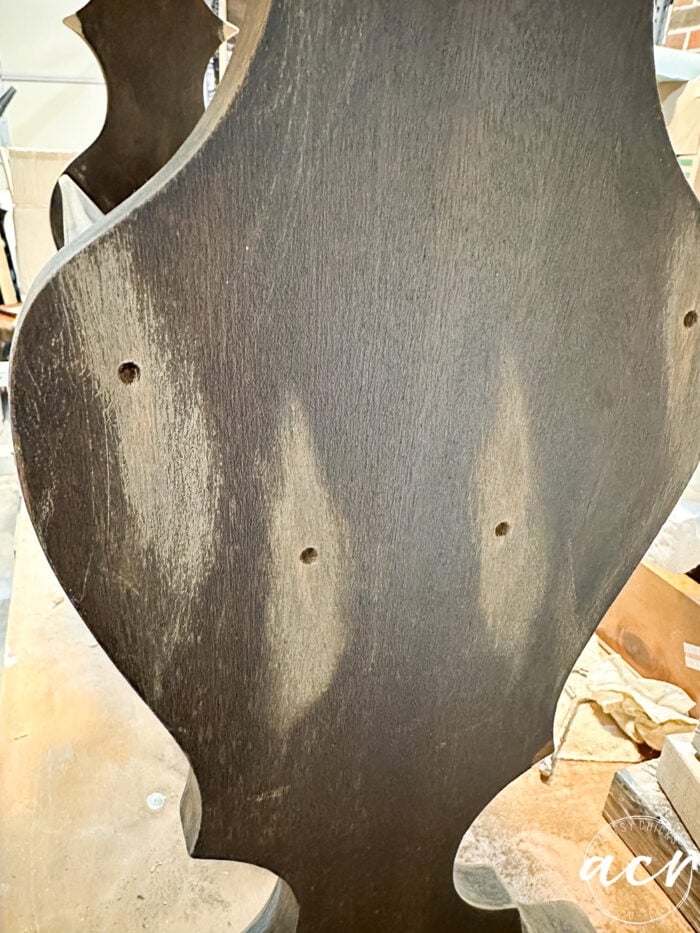
I filled the holes with wood putty, let it dry, and sanded them.
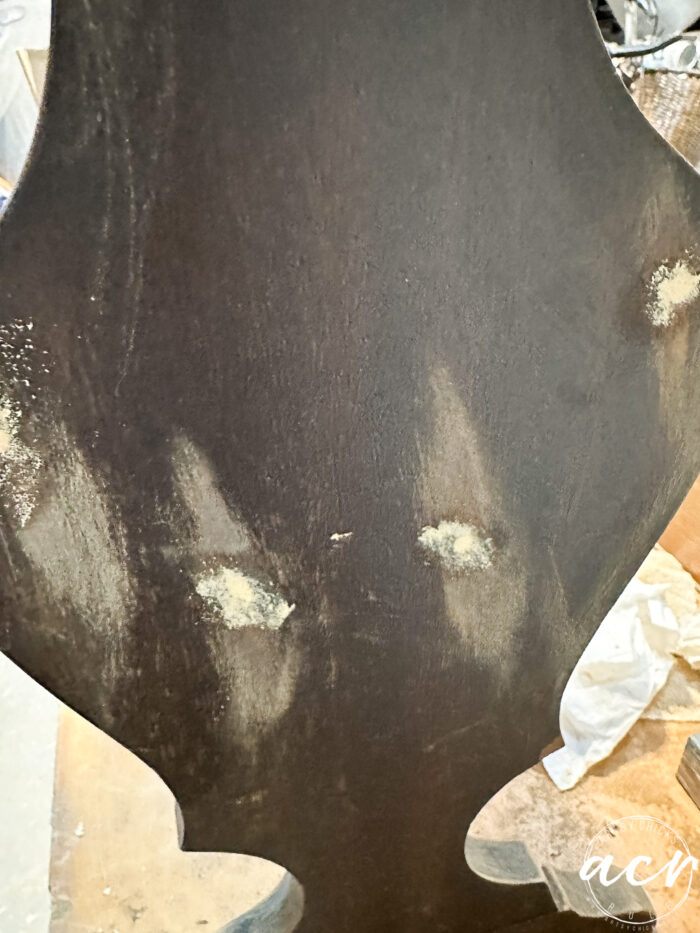
Nice and smooth…and sturdy.
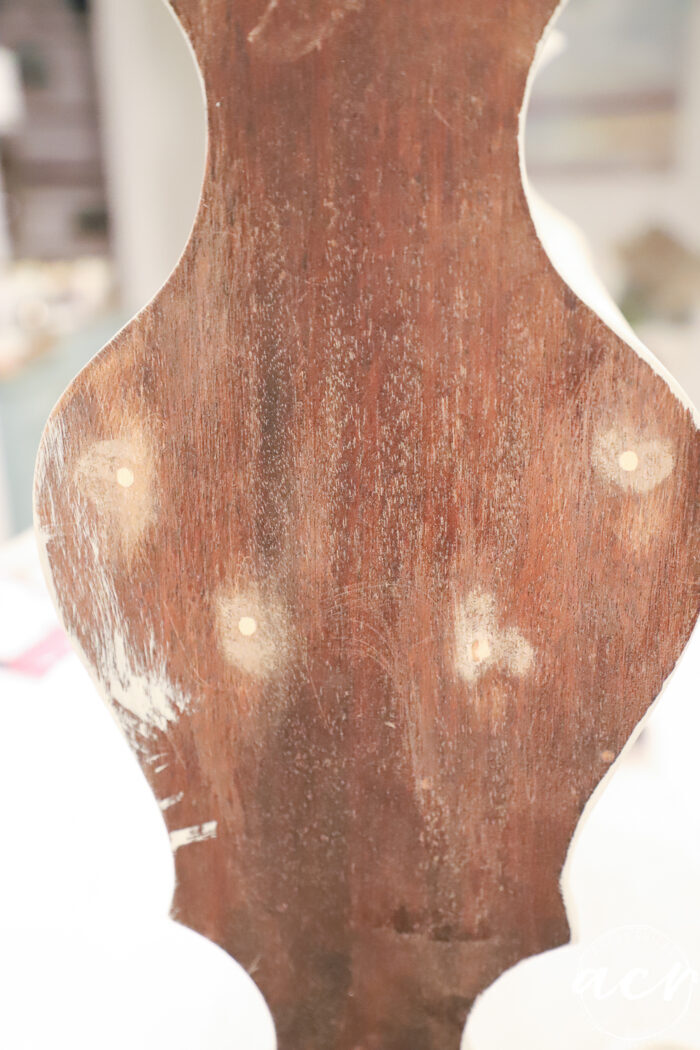
The base got 2 coats of a beautiful green shade called Eucalyptus. (also linked above)
Unfortunately (or fortunately so I could fix it before it went to it’s next home) the top came off when I picked it up to move it. So I glued it back in place. Also nice and sturdy now!
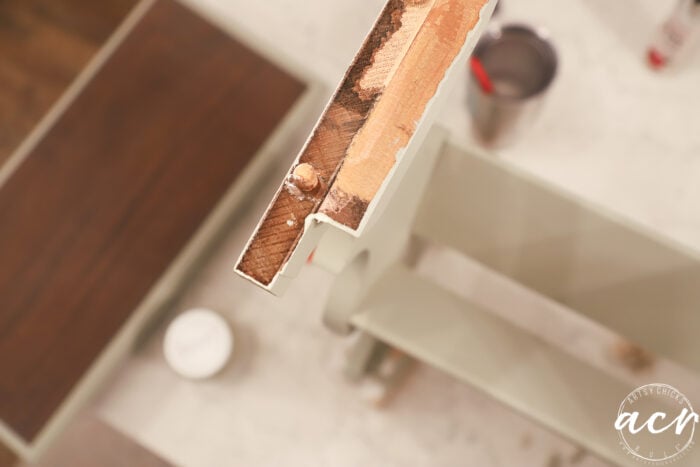
The top, stained and painted, so much better.
No, that’s not all!
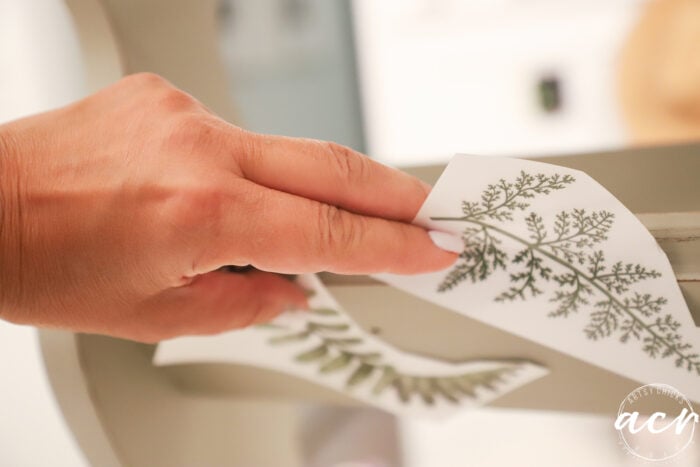
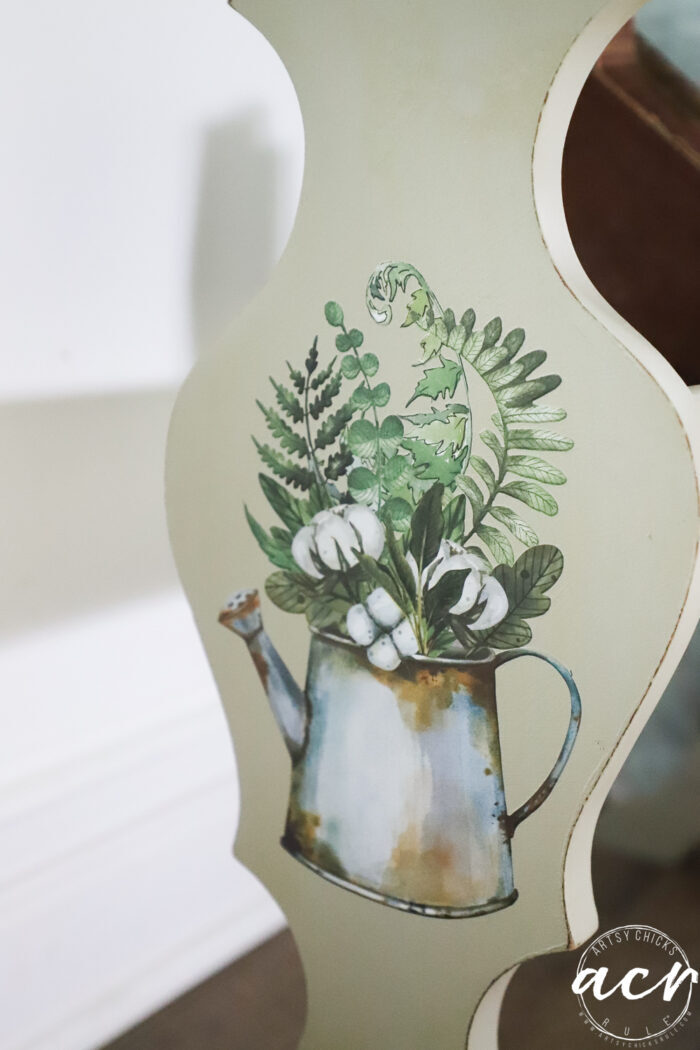
I decided to use a transfer on each side.
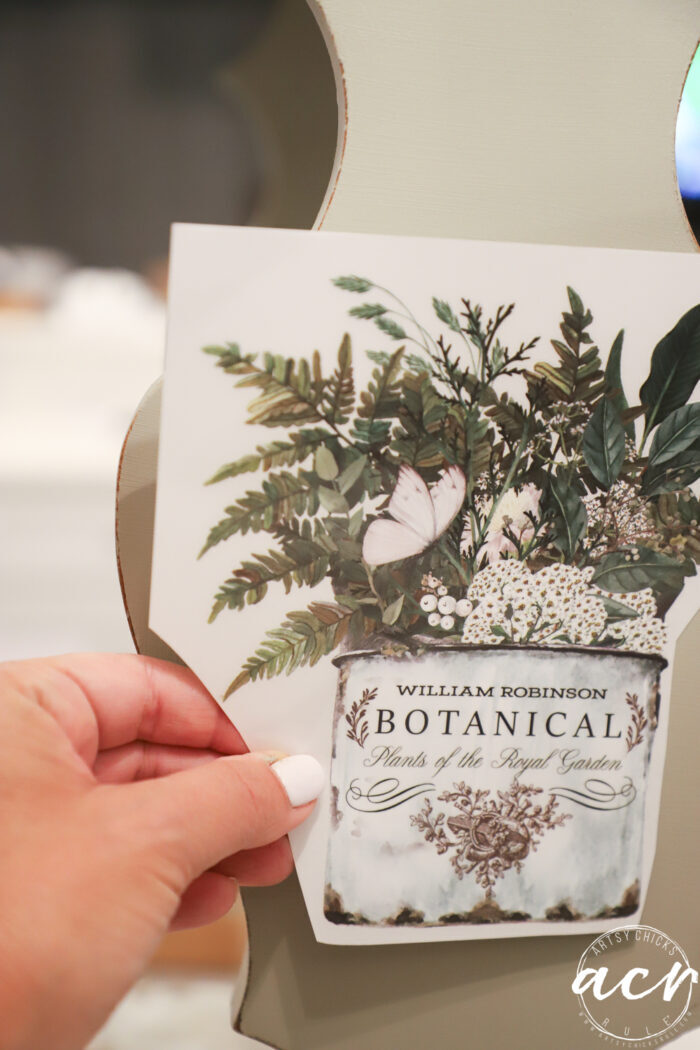
And I considered using some of these pieces on the book rack part but decided to keep it simple instead.
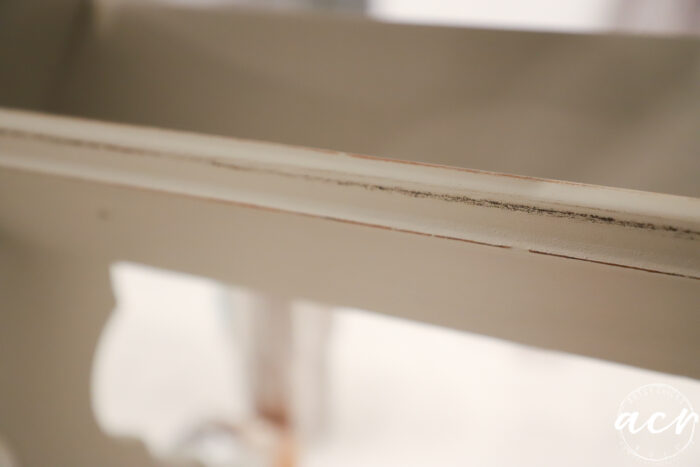
I don’t always “distress” but I felt like this one needed it. It’s old and an antique and it just felt right to distress it a little.
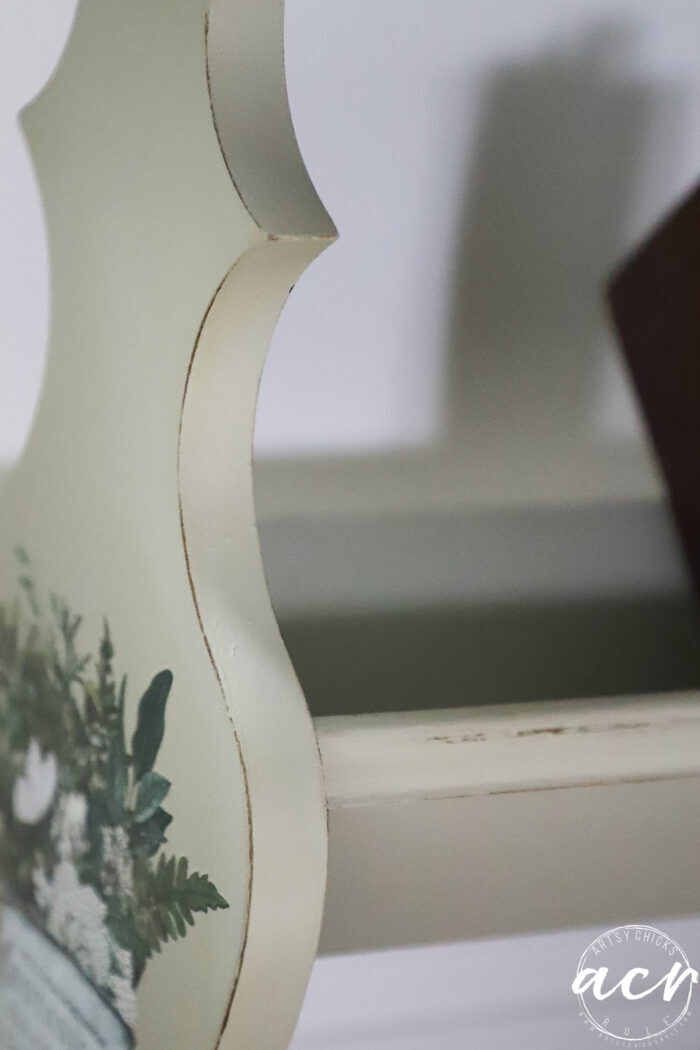
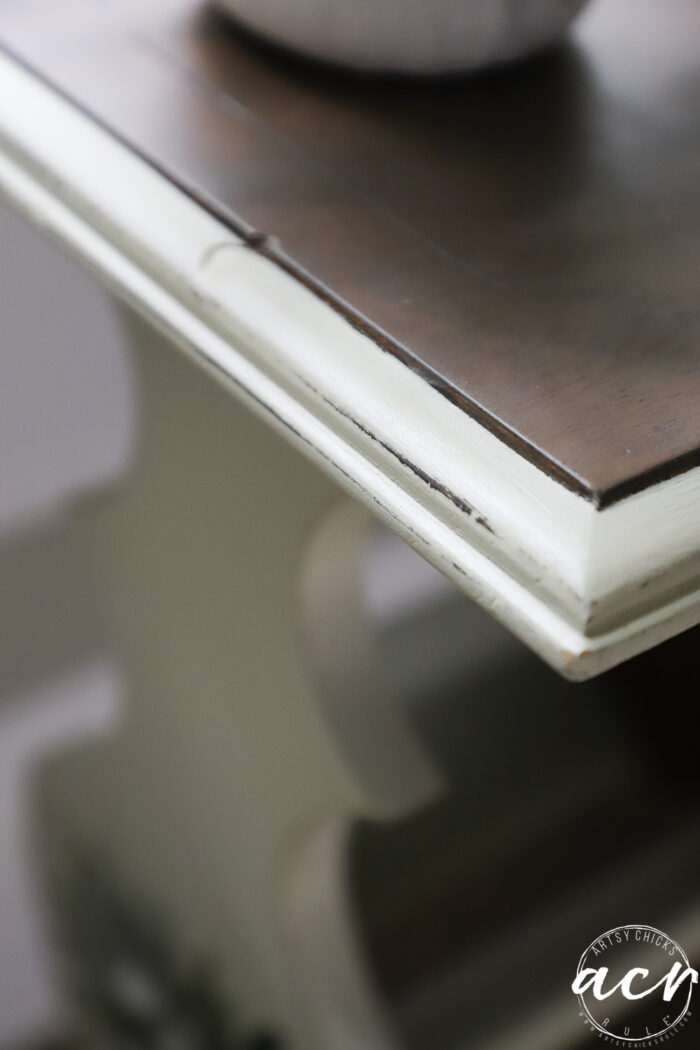
I sealed the whole thing, including the top with a coat of matte Tough Coat.
I did use an oil-based stain but it sat for about 4 days before I applied the water-based topcoat.
I wouldn’t do it any sooner than a few days.
And done!
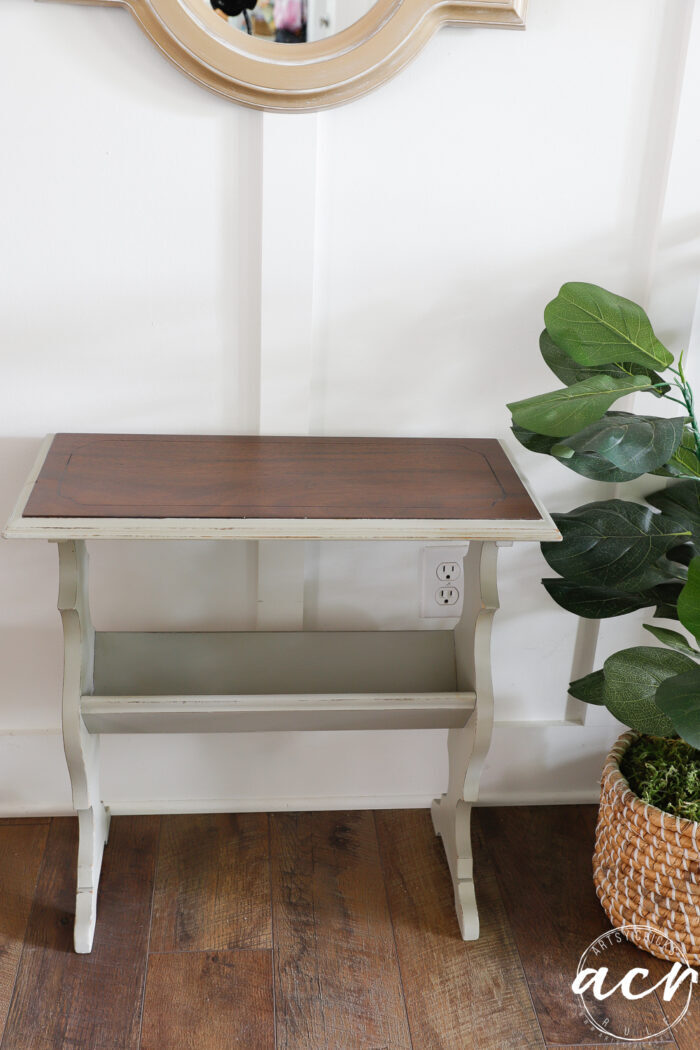
So sweet.
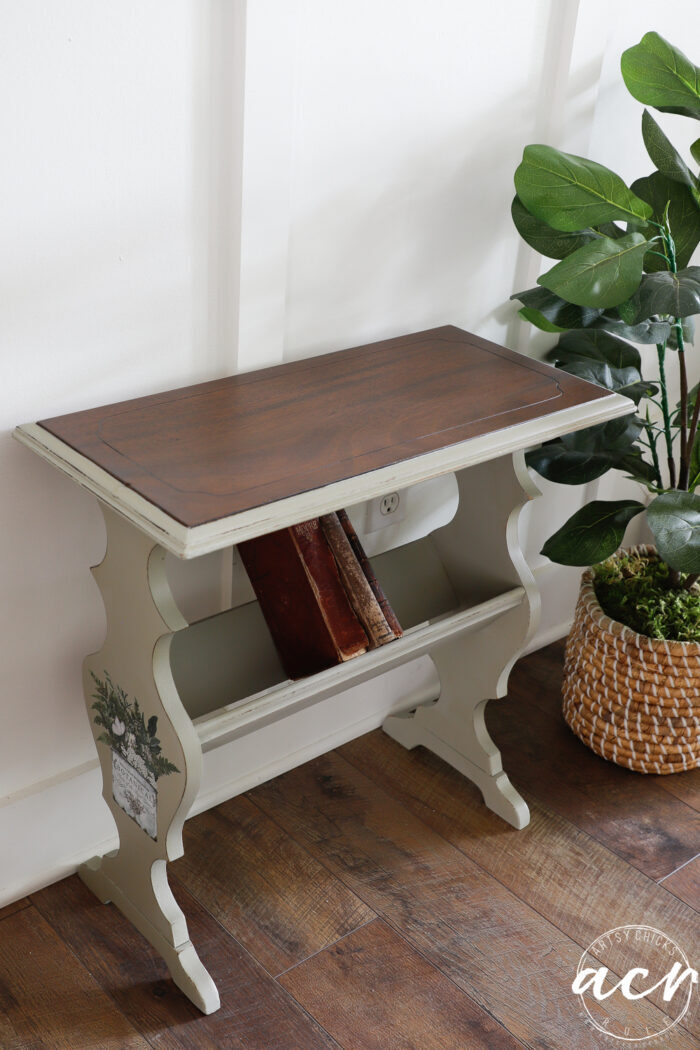
Would be perfect by a reading chair…
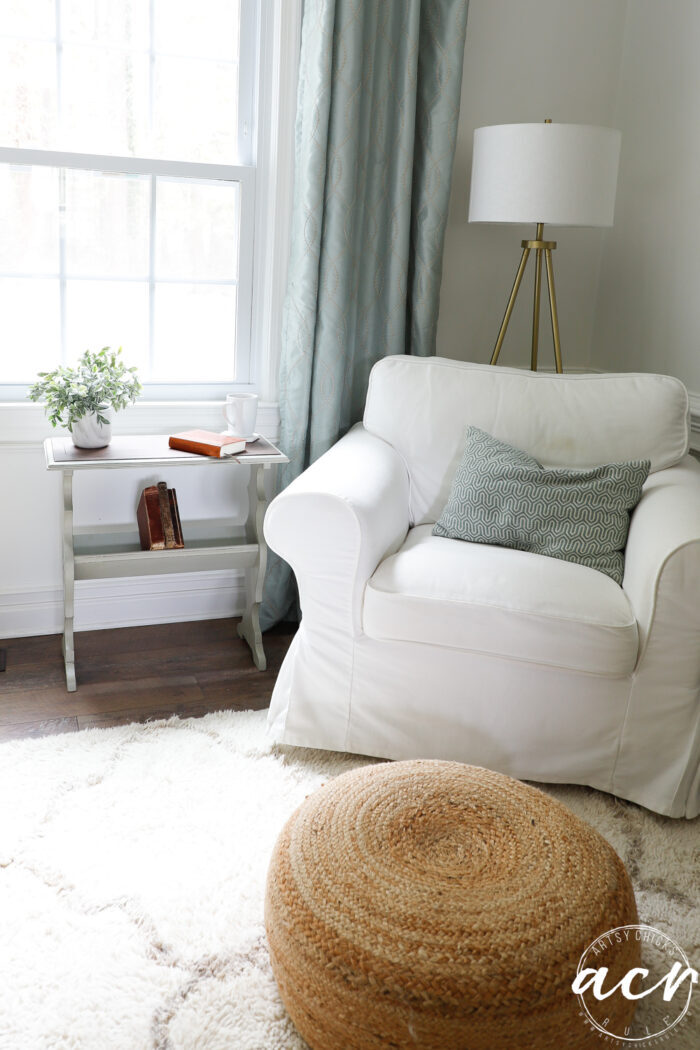
…or in a sunroom, screened porch, etc.
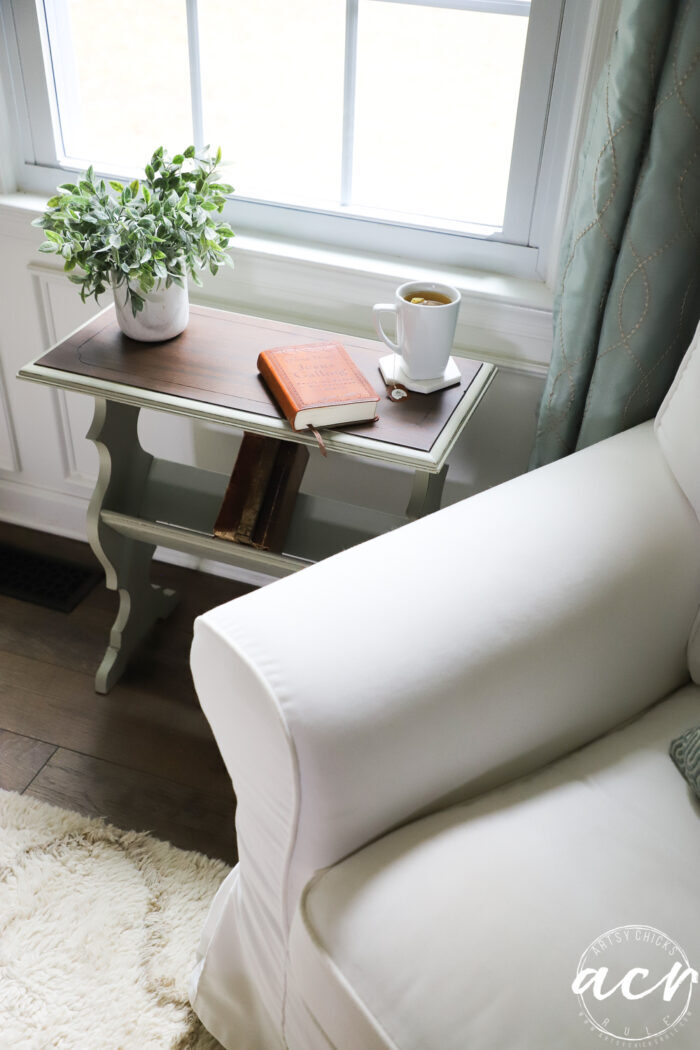
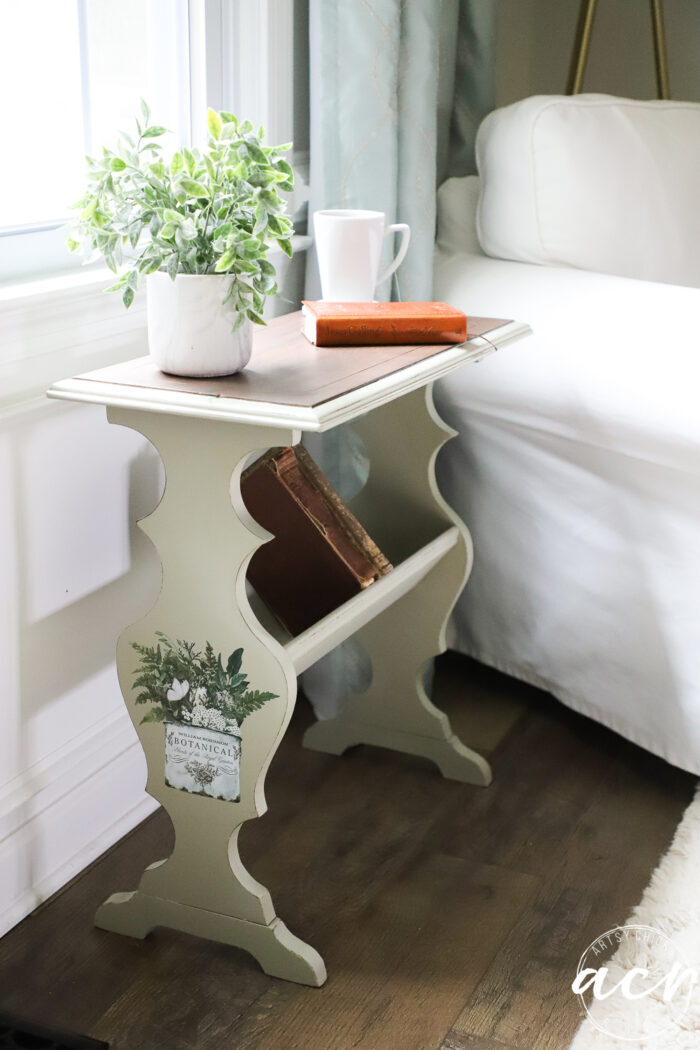
Here’s the one side…
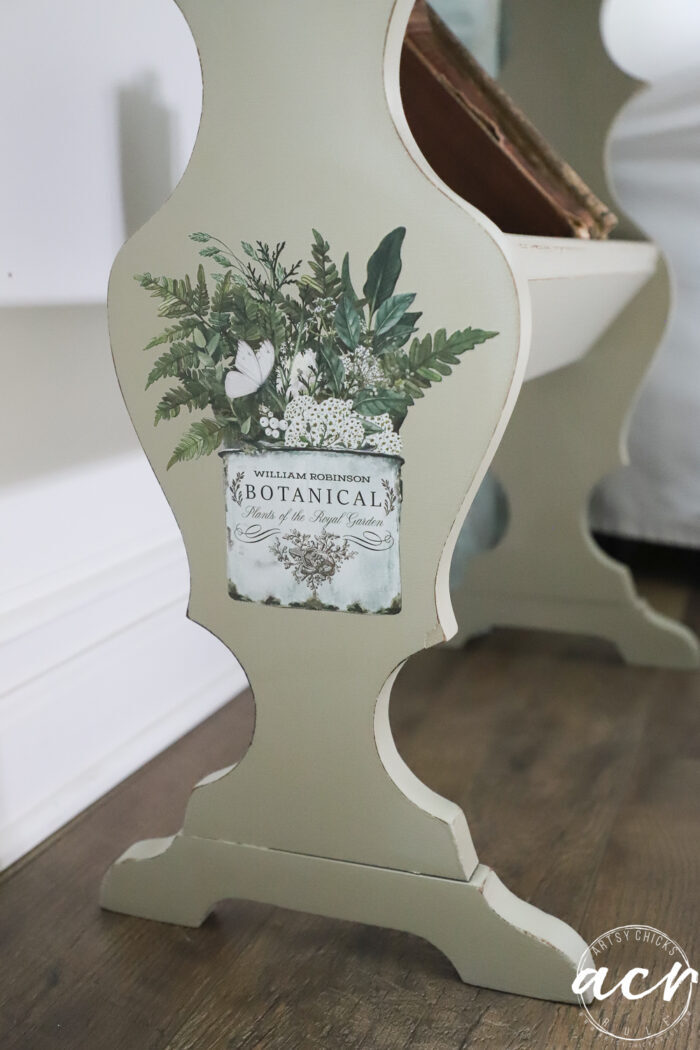
And the other…
That top looks so different now. It just needed a little love, right?!
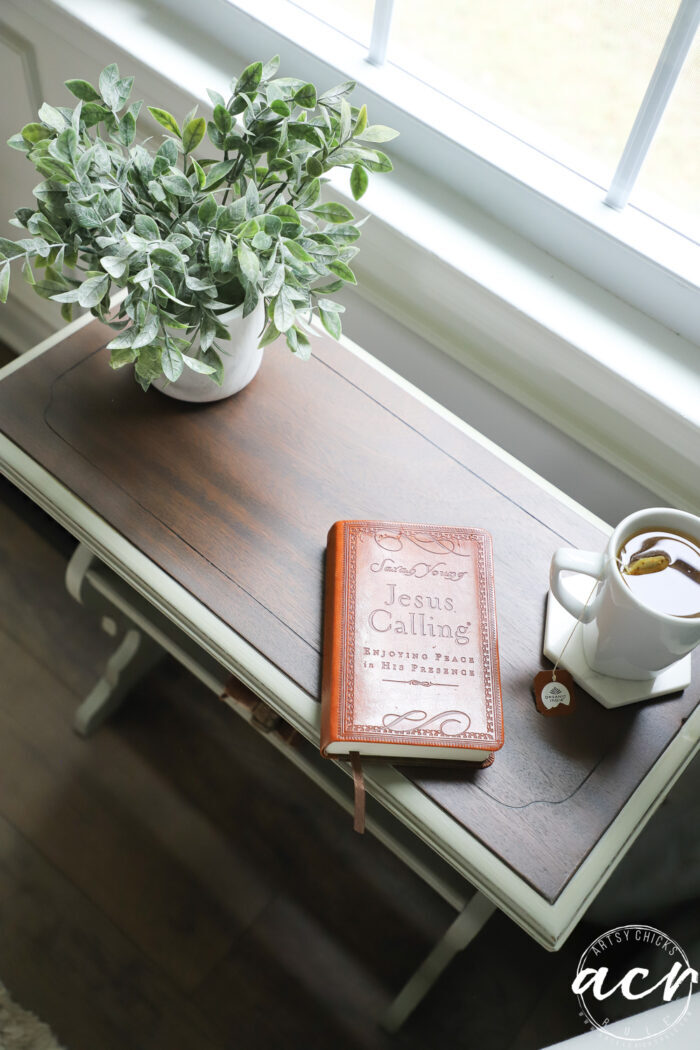
And these books…
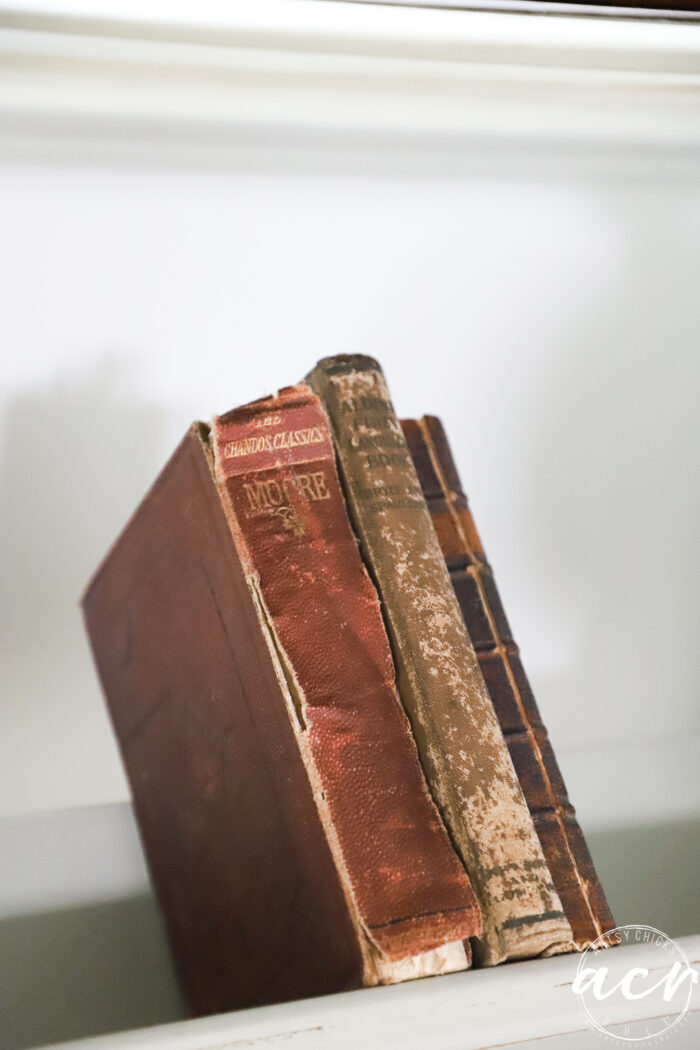
I adore old books. These are from 1913, 1880, and 1770.
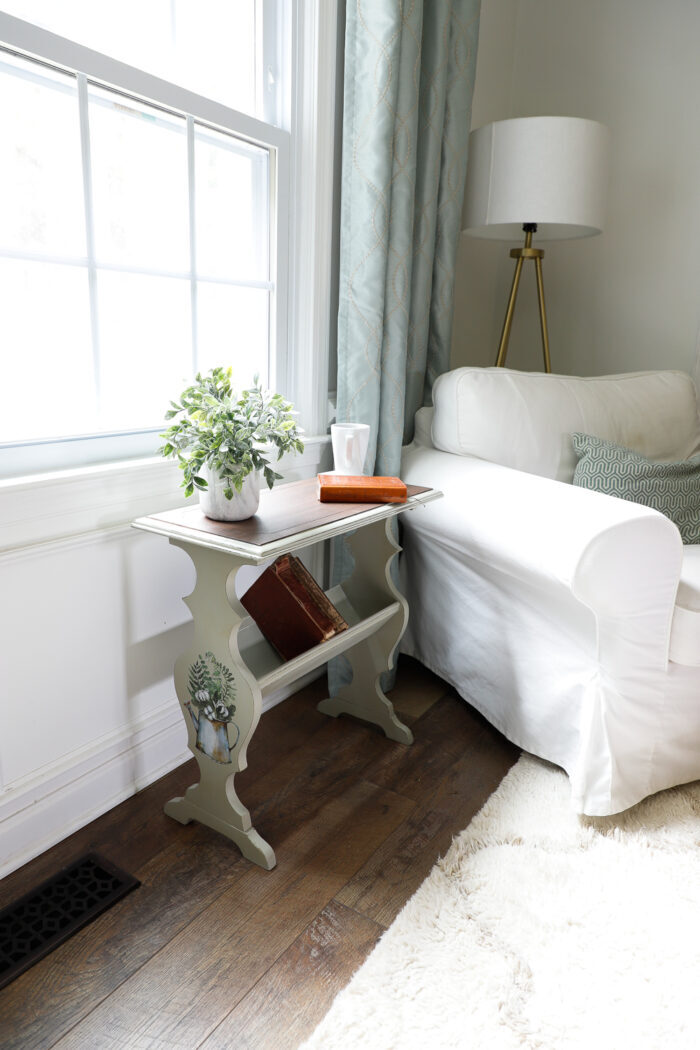
I love this sweet little table now. So cute. And brought back to life.
You never know what you’ll find on those roadside sales! All kinds of treasure just waiting to be found.
PIN it to save it!
Have a great week!
xo


